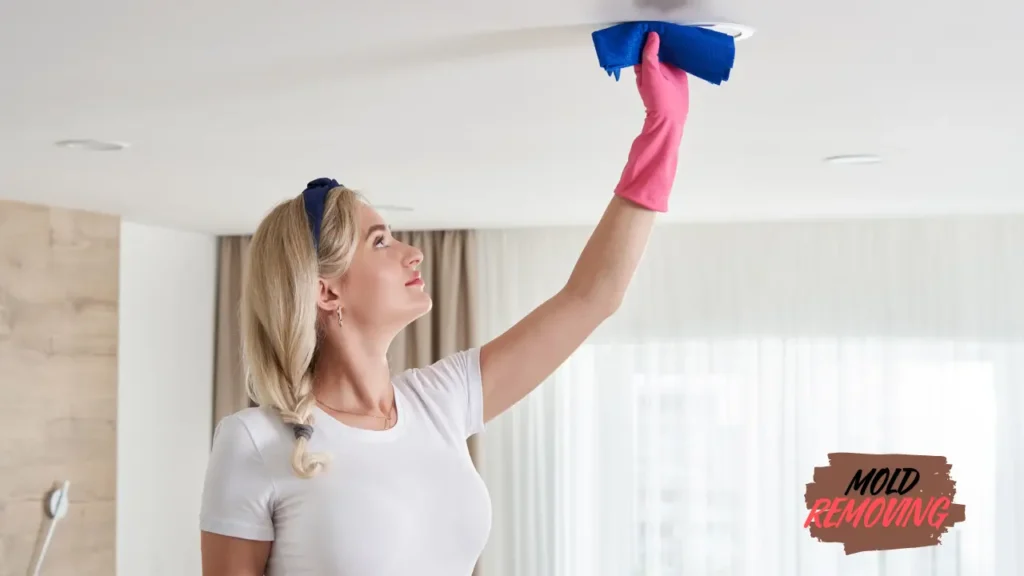
Mold on your popcorn ceiling is not just an unsightly problem—it can pose serious health risks if left untreated. Mold can cause respiratory issues, allergies, and other health problems, especially in people with compromised immune systems.
Addressing this issue promptly is crucial to maintaining a healthy home environment.
Popcorn Ceiling
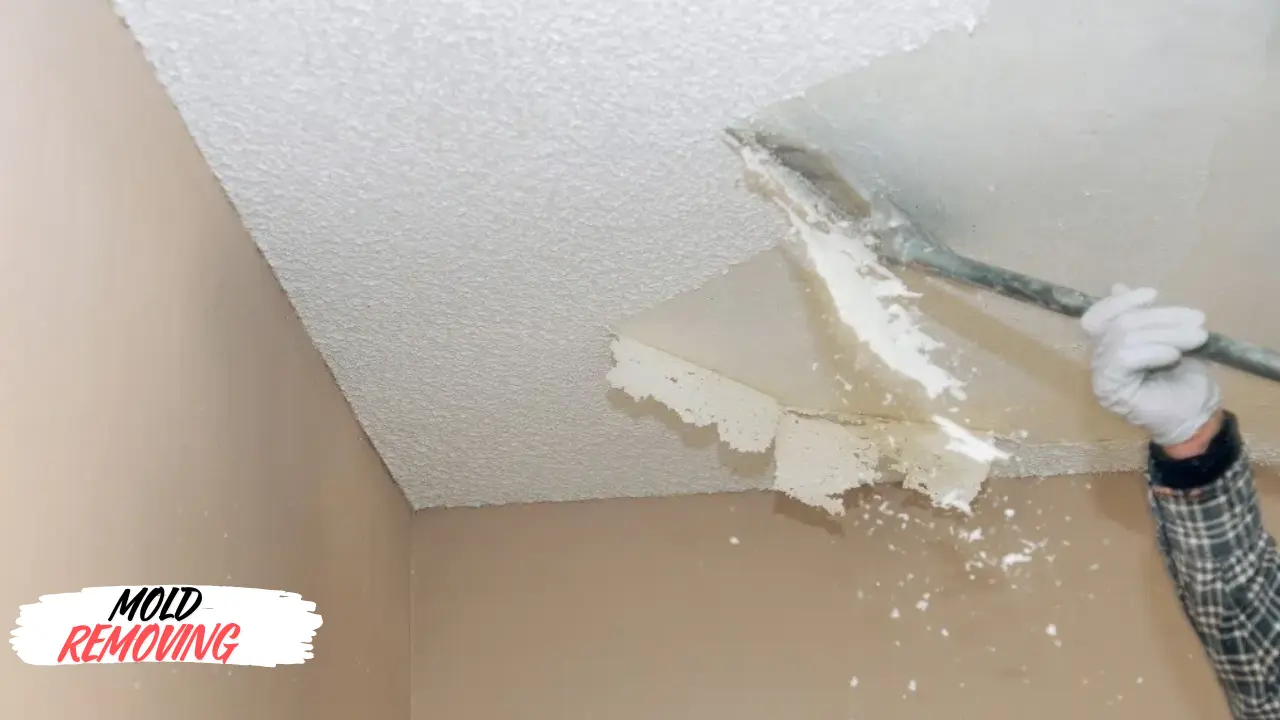
A popcorn ceiling, also known as a stucco ceiling or acoustic ceiling, is a ceiling with a bumpy, textured surface. This style was particularly popular from the 1950s through the 1980s due to its ability to hide imperfections and its sound-dampening properties.
Why Were Popcorn Ceilings Popular
Popcorn ceilings were favored for their practicality. They were easy to apply, covered imperfections well, and had acoustic benefits. However, their rough texture makes them more prone to collecting dust and mold over time.
Mold on Popcorn Ceilings
- Signs of Mold Presence
Mold on a popcorn ceiling often appears as dark spots or patches. You might notice discoloration, musty odors, or even feel a damp sensation in the room.
- Common Causes of Mold Growth on Ceilings
Mold thrives in moist environments. Common causes of mold growth on ceilings include leaks in the roof or plumbing, high humidity levels, and poor ventilation.
Preparing for Mold Removal
Gathering Necessary Supplies
To remove mold from your popcorn ceiling, you’ll need:
- Plastic sheeting or drop cloths
- Ladder
- Spray bottle
- Soft-bristled brush
- Cleaning solutions (natural or commercial)
- Buckets
- Sponges or cloths
Ensuring Safety: Personal Protective Equipment (PPE)
Wear appropriate PPE, including gloves, goggles, and a mask or respirator, to protect yourself from mold spores and cleaning chemicals.

Testing for Asbestos
Why Testing for Asbestos is Crucial
Many popcorn ceilings installed before the 1980s contain asbestos, a harmful substance that can cause serious health issues if inhaled. Before beginning mold removal, it’s essential to test your ceiling for asbestos.
How to Test for Asbestos
You can purchase an asbestos testing kit or hire a professional to test a small sample of your ceiling. If asbestos is present, it’s best to hire a professional for mold removal to avoid disturbing the harmful fibers.
Initial Cleaning Steps
- Cleaning the Area Around the Mold
Clear the area around the mold to prevent the spread of spores. Use plastic sheeting to cover furniture and floors.
- Drying the Affected Area
Ensure the area is dry before you start cleaning. Use fans or dehumidifiers to reduce moisture levels.
Choosing the Right Cleaning Solution
- Natural Cleaning Solutions
Natural solutions like vinegar or baking soda are effective and environmentally friendly options for mold removal.
- Commercial Mold Removers
There are various commercial products designed specifically for mold removal. Choose one that is safe for use on popcorn ceilings and follow the instructions carefully.
Applying the Cleaning Solution
Step-by-Step Guide on Application
- Fill a spray bottle with your chosen cleaning solution.
- Lightly mist the moldy area—avoid saturating the ceiling to prevent damage.
- Allow the solution to sit for at least 15 minutes to penetrate the mold.
Tips for Effective Cleaning
Work in small sections and be gentle to avoid disturbing the textured surface. Ensure good ventilation in the room during cleaning.
Scrubbing the Mold Away
- Proper Techniques for Scrubbing
Use a soft-bristled brush to scrub the mold. Apply gentle pressure and work in a circular motion to avoid damaging the popcorn texture.
- Tools to Use for Scrubbing Popcorn Ceilings
A soft brush, sponge, or even a microfiber cloth can be effective. Avoid using abrasive materials that could harm the ceiling’s texture.
Rinsing and Drying the Ceiling
- How to Rinse the Ceiling Without Causing Damage
Use a damp sponge or cloth to gently wipe away the cleaning solution. Avoid soaking the ceiling—use minimal water to prevent damage.
- Best Practices for Drying the Ceiling
After rinsing, use fans or a dehumidifier to thoroughly dry the ceiling. Ensure no moisture remains to prevent mold from returning.
Dealing with Stubborn Mold Stains
- Advanced Methods for Tough Mold Spots
For stubborn mold stains, you might need to use a stronger solution or repeat the cleaning process. In some cases, a mixture of bleach and water (1:10 ratio) can be effective—use with caution and proper ventilation.
- When to Call a Professional
If mold stains persist despite your efforts, it might be time to call a professional mold remediation specialist. They have specialized tools and expertise to handle severe mold issues.
Preventing Future Mold Growth
- Maintaining a Dry Environment
Control humidity levels in your home using dehumidifiers and ensure proper ventilation, especially in areas prone to moisture like bathrooms and kitchens.
- Regular Inspections and Cleanings
Inspect your ceilings regularly for signs of mold and address any moisture issues promptly. Routine cleanings can help prevent mold from establishing a foothold.
Repairing and Repainting the Ceiling
- How to Patch Damaged Areas
If cleaning caused any damage to the popcorn texture, you can use a popcorn ceiling patch kit to repair it. Follow the kit’s instructions for best results.
- Tips for Repainting a Popcorn Ceiling
Choose a paint designed for textured surfaces and apply it using a roller with a thick nap. This will help maintain the popcorn texture while providing a fresh, clean look.
When to Call a Professional
- Situations That Require Expert Help
If you discover extensive mold growth or suspect the presence of asbestos, it’s best to contact a professional. They can safely remove mold and handle hazardous materials.
- Choosing the Right Mold Remediation Specialist
Look for certified mold remediation specialists with good reviews and proper licensing. Get multiple quotes to ensure you’re getting a fair price for their services.
Conclusion
Removing mold from a popcorn ceiling can be a daunting task, but with the right approach and tools, you can restore your ceiling to its original condition. By following the steps outlined in this guide, you can effectively remove mold and prevent it from returning, ensuring a healthier home environment.
FAQs
How can I tell if the mold is dangerous?
Mold that appears black or has a strong musty odor can be particularly dangerous. However, all mold should be treated with caution. Consider professional testing to determine the type of mold.
Is it safe to remove mold myself?
For small, isolated patches of mold, DIY removal can be safe if you take proper precautions. For extensive mold or if asbestos is present, professional help is recommended.
What if my ceiling contains asbestos?
If your popcorn ceiling contains asbestos, do not attempt to remove the mold yourself. Contact a certified asbestos abatement professional to handle the situation safely.
Can I prevent mold from returning?
Yes, by controlling humidity, ensuring good ventilation, and addressing any leaks or moisture issues promptly, you can prevent mold from returning.
What are the best products for mold removal?
Natural solutions like vinegar and baking soda are effective for small areas. For more severe mold, commercial mold removers like Concrobium Mold Control or RMR-86 are highly recommended.


